Editing Layouts
Watch the Editing Layouts (Report Layouts) section of our demo video to learn more about how to start editing your layouts!
Warning
Please note that the Custom Report Layouts page is deprecated and should not be used anymore.
You should use the Report Layouts or Document Creator User-Defined Report Layouts (recommended) page instead to edit your document report layouts.
Important
Note that you can only edit user-defined report layout records! It is not possible to edit extension-provided layout records; to make changes to an extension-provided layout, you will need to make a copy of the layout to create a new user-defined/tenant report layout.
Editing Layouts using Design Files
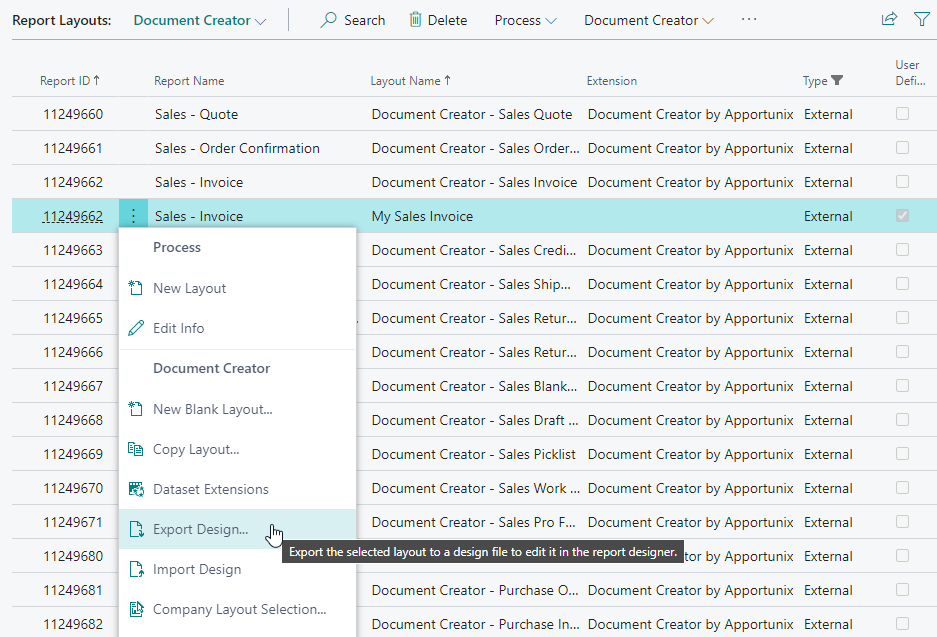
On the Report Layouts page you will find an Export Design and Import Design action (within the Document Creator promoted category). These actions can be used to export and import a "Document Creator Design File (.dcrd)" for the record selected on the page.
Please note that these actions are only supported for Document Creator layouts (i.e., layout format "External" and MIME Type "reportlayout/dcrx"). If you attempt to use these actions for any other layout type, such as RDLC, Word or Excel, an error message will be shown.
Tip
Our advise is to use the Document Creator User-Defined Report Layouts page as a better place for managing and editing your company's report layouts.
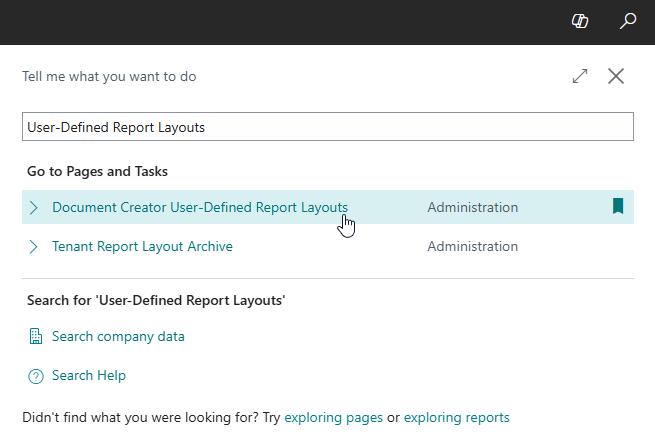
This page is much easier to use as it directly filters the layouts to the user-defined report layouts, rather than showing all report layouts like the standard Report Layouts page does.
Note that you can also Bookmark this page for easy, quick access while working on your document report layouts.
Export Design
To start editing a layout, you will need to export the layout in a Design file (.dcrd) that you will open in the Document Creator standalone report designer. If you do not have the designer installed yet, then please follow the installations instructions at the Installing the Designer page.
To export a layout to edit it in the designer, follow these steps:
- Select the Report Layout record.
- Invoke the Export Design... action.
-
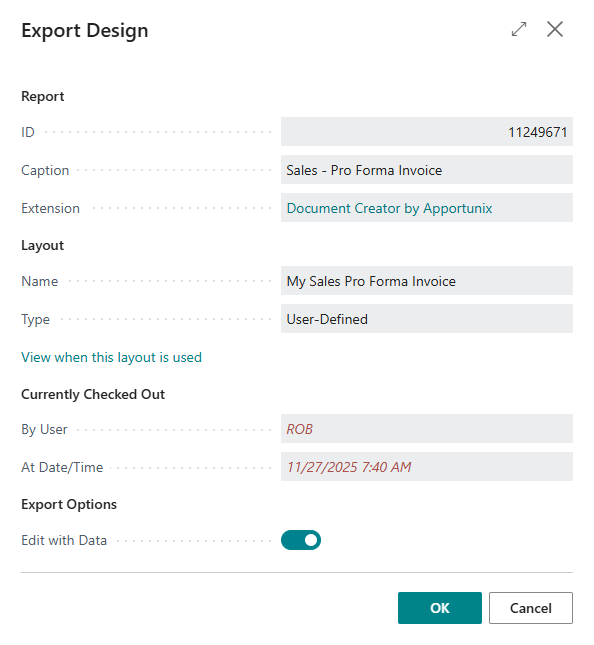
The Export Design dialog page opens.
On this dialog page you will find the option Edit with Data (which is enabled by default). If you enable this option, the Design file will be exported with a dataset, which can be filtered using the report's request page that will be shown.
-
Choose OK.
-
If you made the choice to Edit with Data earlier, the report's request page will open, where you can define filters and further options for the dataset to be included in the Design file.
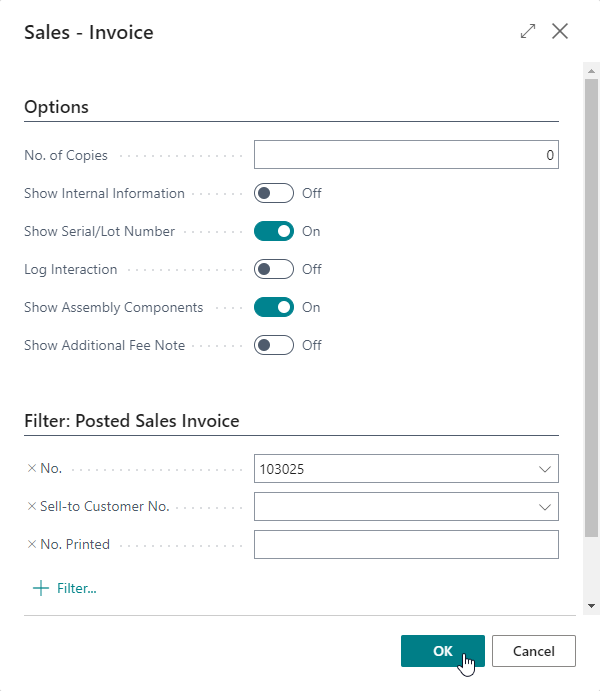
After configuring the options and filters, choose OK and wait for the report to complete.
-
Save the Design file to a location of your choice.
You can now open the file and use the Document Creator Designer to edit the layout.
Note
In case you enabled the Edit with Data option earlier, you can Preview (Ctrl+P) your layout from the report designer with the data from your Dynamics 365 Business Central environment. In case you disabled the option earlier, the preview will use a sample dataset with a single record per data source containing the label-/column-names and/or default values for the columns.
After you are satisfied with the changes to the layout, you can save and close the designer.
Tip
Design Files (.dcrd) can also be used to analyse a report's dataset, layout and rendering issues for someone who doesn't have access to the Business Central environment in which the report, layout and data resides.
See the Design File Analysis section to learn more about how you can use the Document Creator Design File Analysis page to analyse designs.
Import Design
When you are done editing the layout in an earlier exported Design file, you need to import the Design file (.dcrd) to apply the changes to the layout in your Dynamics 365 Business Central environment. The Import Design action allows you to select a Design file (.dcrd) and import the contained layout into the selected, user-defined Document Creator report layout record on the Report Layouts page (or Document Creator User-Defined Report Layouts page).
To import a layout from a Design file, follow these steps:
- Select the target report layout record.
- Invoke the Import Design... action.
- Click Choose... and select the Design file in the Open File dialog that appears.
Attention
This action is only enabled for user-defined Document Creator report layout records. It is not possible to edit extension-provided layout records; to make changes to an extension-provided layout, you will need to make a copy of the layout to create a new user-defined/tenant report layout.
Info
During the import of a Design file (.dcrd), the previous version of the layout is automatically added to the Tenant Report Layout Archive, along with a comment that reads "Before Design Import". This allows you to restore the previous version of the layout, e.g., in case you made a mistake and want to revert your changes.
Check Out Layouts
Note
This feature is available starting from Document Creator 2.54.0.
The Check Out Layouts feature helps users to avoid conflicts that could emerge when multiple users are working on the same user-defined report layout at the same time.
This feature warns users when they are about to make an attempt to edit (i.e., export or import) a user-defined report layout while there is already another user that is also busy editing the same layout.
Setup
The settings that are available on the Document Creator Setup page to configure the feature are as follows:
-
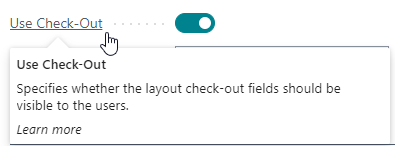
Use Check-Out - Specifies whether the Check Out Layouts feature should be enabled in the current Business Central environment. If the checkbox is disabled, the fields will not be visible and checks will be skipped.
-
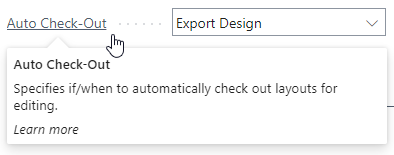
Auto Check-Out - If Use Check-Out is enabled, then you can use this setup field to specify when layouts should be checked out automatically. The options are "Never" (i.e., users will check out layouts manually) and "Export Design" (i.e., whenever a user invokes the Export Design action the Checked Out fields will be updated automatically).
Usage
On the Report Layouts page and Document Creator User-Defined Report Layouts page the following new fields and action will be available when the "Check Out Layouts" feature is enabled (N.B. they only apply to user-defined report layouts):
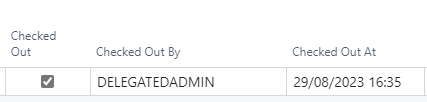
- Checked Out - Specifies whether a layout is checked out by a user for editing. As a user you can check or uncheck the box and the other "Checked Out" fields will be updated accordingly.
- Checked Out By - Specifies the name of the user who checked out the layout for editing.
-
Checked Out At - Specifies the date and time that the layout was checked out for editing.
-
Check Out for Editing action - Checks out the selected layout for editing.

Note
This feature does NOT apply to extension-provided report layouts.
Example Scenarios
The Check Out Layouts feature protects users from conflicts while editing user-defined Document Creator report layouts. Here are some scenarios to illustrate how the feature helps users to avoid such conflicts while import/exporting layouts for editing:
-
Import Layout while Checked Out by Current User
Given that a user-defined Document Creator report layout is checked out by user A.
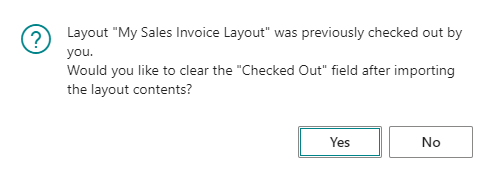
When user A imports a new design file into the layout record using the Import Design action.
Then user A will be asked if he/she would like to clear the Checked Out fields for the layout record.
-
If the user answers with Yes, then the layout will be imported and all the Checked Out fields of the record will be cleared.
-
If the user answers with No, then the layout will be imported, but the Checked Out fields will not be cleared.
-
-
Import Layout while Checked Out by Other User
Given that a user-defined Document Creator report layout is checked out by user A.
When user B attempts to import a new design file into the layout record using the Import Design action.
Then user B will be asked if he/she is sure he/she would like to import the layout and if so whether he/she would also like to clear the Checked Out fields of the record.
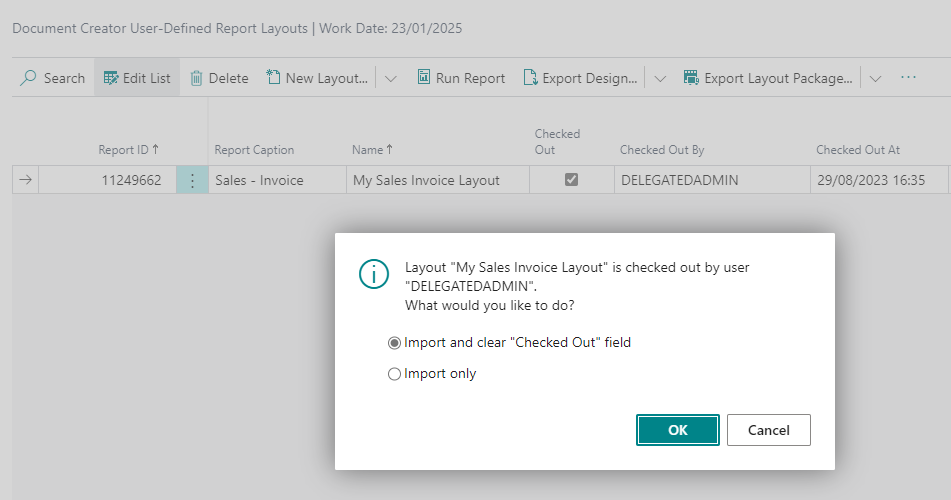
-
If the user responds with Import and clear "Checked Out" field, then the layout will be imported and all the Checked Out fields of the record will be cleared.
-
If the user responds with Import only, then the layout will be imported, but the Checked Out fields will not be cleared.
-
If the user responds with Cancel, then the layout will NOT be imported and an error occurs to inform the user that the action has been canceled accordingly.
-
-
Export Design File while not checked out
Given the setup field Use Check-Out is set to TRUE (i.e., marked/ticked/enabled) and Auto Check-Out is set to Export Design and given a new user-defined Document Creator report layout.
When the current user invokes the Export Design action.
Then the Checked Out fields will have been updated accordingly.
-
Export Design File while checked out by other user
Given that a user-defined Document Creator report layout is checked out by user A.
When user B attempts to import a new design file into the layout record using the Export Design action.
Then user B will be warned that the layout record has been checked out by user A and asked if he/she would like to export the design file regardless, e.g.,
Layout "My Sales Invoice Layout" is checked out by user "User A".
Would you still like to export a design file for this layout?